Deliver the Bomb Save the World Guide
Deliver the Bomb Save the World is a mission built around connecting the Armory to the Launcher, transporting the bomb and defending the Launcher. The basic objective is easy to understand, but the run becomes much smoother when you explore first, collect what the mission needs and build before starting the defence.
New players often rush Deliver the Bomb Save the World because the objective marker makes it tempting to start immediately. A better approach is to use the quiet setup period to gather materials, read the terrain and make sure the team is actually ready for the attack.
How Deliver the Bomb Save the World works
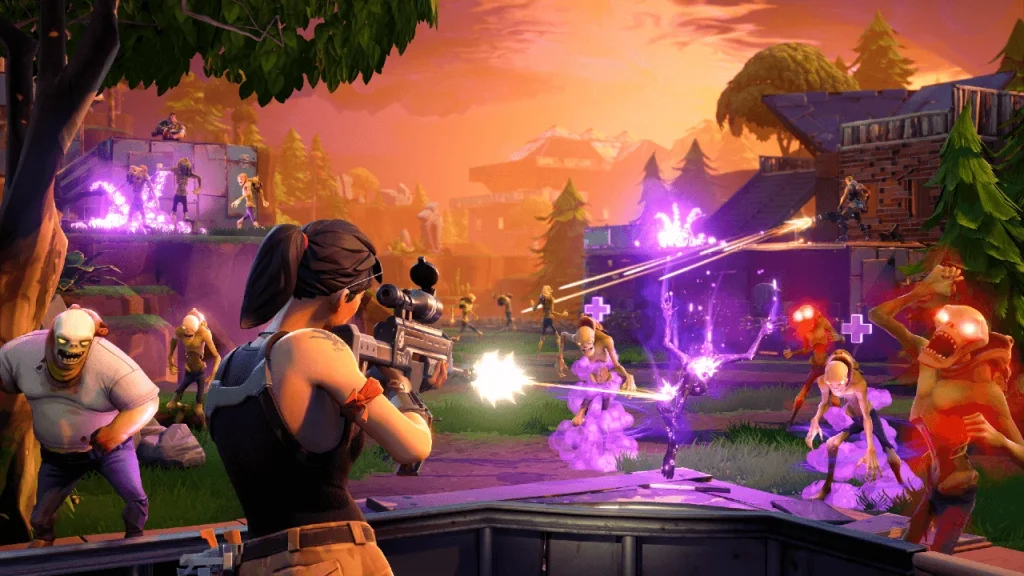
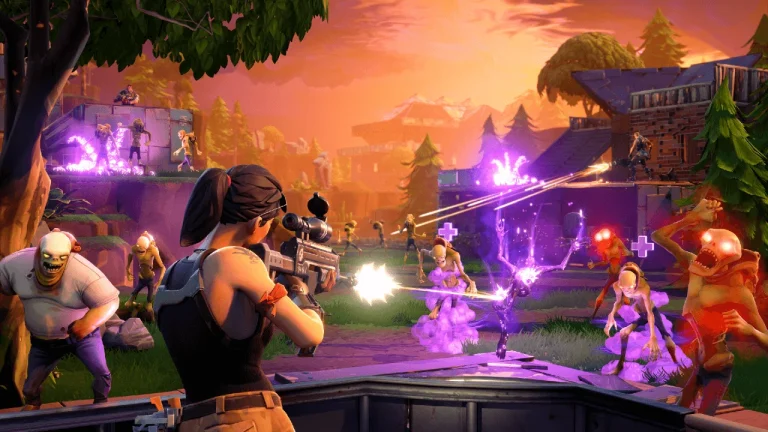
Deliver the Bomb Save the World Image Epic Games.
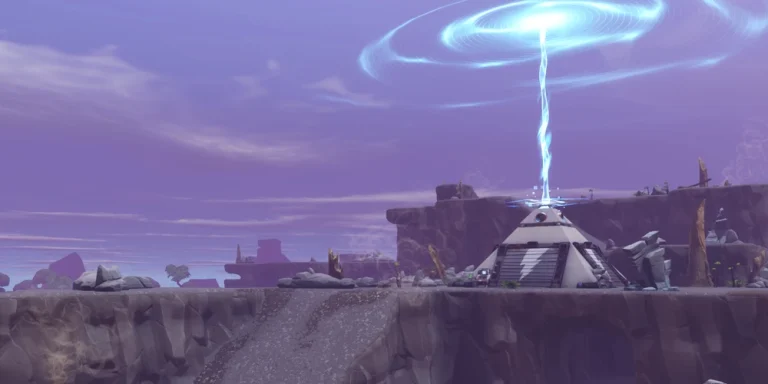
Locate the mission objectives and use the route planning phase carefully. Deliver the Bomb Save the World requires a valid track between the Armory and Launcher, so clear obstructions and keep the route simple instead of creating unnecessary turns.
Building for Deliver the Bomb Save the World
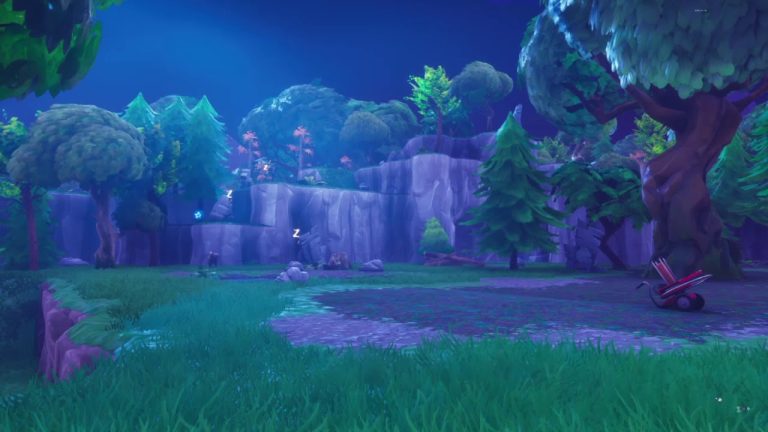
Most of the serious building is saved for the Launcher. Once the bomb route is established, inspect the terrain around the final objective and build the defence before beginning the last stage, with particular attention to cliffs, ramps and open ranged angles.
- Upgrade the walls that will take direct pressure.
- Leave yourself a clear route in and out of the defence.
- Use traps where Husks are naturally being funnelled instead of covering every tile.
- Watch for terrain that gives Lobbers, Flingers or Smashers an easy angle onto the objective.
What to do during the attack
Protect the Launcher rather than the track after the bomb has completed its journey. Focus on enemies actually pressuring the final objective, and remove Smashers, Flingers and other disruptive threats before they can undo the build.
In Deliver the Bomb Save the World, target priority matters more than chasing every normal Husk. Mist Monsters and enemies damaging the objective deserve immediate attention, while basic Husks can often be handled by traps, area damage and the rest of the squad.
Solo and public lobby tips
Solo players can take their time with the track because there is no benefit in rushing into a weak final defence. In a team, split the work between route building, material gathering and Launcher preparation, then regroup before activation.
Common Deliver the Bomb Save the World mistakes
The classic mistake is obsessing over the track while leaving almost no material for the Launcher. Another is placing track pieces before checking whether terrain or mission geometry will force a cleaner route elsewhere.
- Starting before anybody has built or crafted ammunition.
- Spending too many materials on walls that enemies will never reach.
- Ignoring the direction of the storm and natural Husk paths.
- Using all heavy ammunition on ordinary enemies before the dangerous wave arrives.
What to bring into Deliver the Bomb Save the World
Bring enough building resources for both the transport setup and the final defence. Traps are most valuable around the Launcher, while mobility helps during the route stage and burst damage helps remove priority enemies during the last attack.
The exact rewards for Deliver the Bomb Save the World depend on the mission tile, Power Level and active alert. Check the reward panel before launching so you know whether the run is worth prioritising for XP, evolution materials, PERK-UP, event currency or another resource you currently need.
If you are still learning the wider mission rotation, the Save the World missions database is useful for comparing mission types. You can also check Epic’s official Fortnite Save the World page for current mode and platform information.
Deliver the Bomb Save the World also becomes easier when you arrive with enough ammunition, building materials and crafting ingredients to finish the mission without a farming detour. Check your backpack before launch, keep one reliable weapon for normal Husks and save your strongest burst damage for Mist Monsters or other threats that can disrupt the objective. That small amount of preparation is especially useful in Canny Valley, Twine Peaks and Ventures, where a weak setup can turn a straightforward objective into a much longer fight.