Build the Radar Grid Save the World Guide
Build the Radar Grid Save the World is one of the faster mission styles because the focus is finding radar tower sites and constructing the hologram blueprints correctly. There is much less static base building than in an Atlas or Shelter defence, so movement, target selection and knowing when to stop farming matter much more.
The easiest way to make Build the Radar Grid Save the World consistent is to treat the entire map as part of the objective. Explore with purpose, complete side tasks only when they are on your route and keep enough time in reserve to finish the required mission progress.
How Build the Radar Grid Save the World works

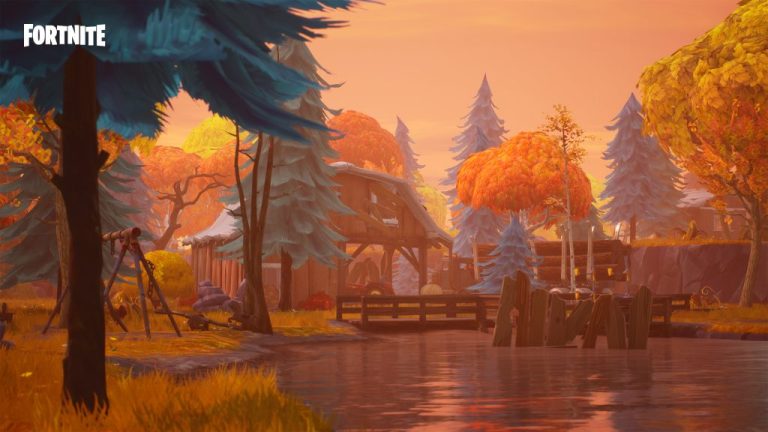
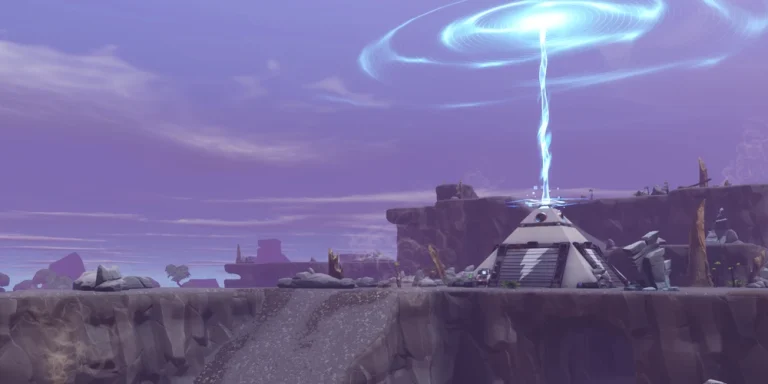
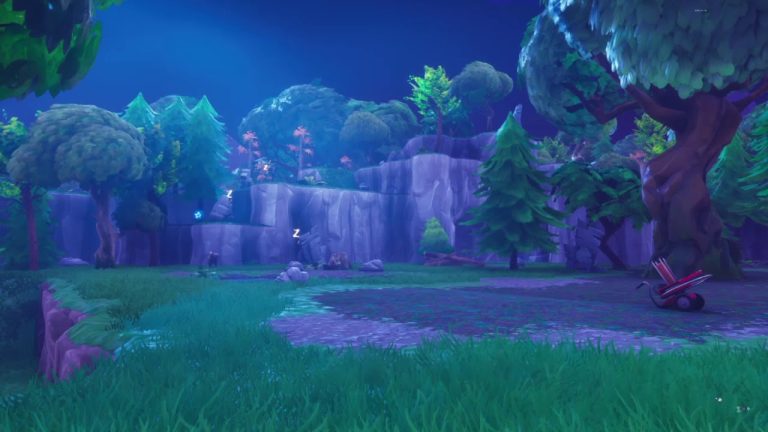
Build the Radar Grid Save the World Image Epic Games.
Travel between the marked radar sites and build each tower to match the hologram shown by the mission. The objective is more about accurate construction than combat, although Husks can still interrupt you while you work.
Move through the map efficiently
Start with towers that are easy to reach and avoid spending too long farming before you have secured the mission requirement. Once the necessary towers are complete, use the remaining time for bonus towers, exploration or quest progress if you want extra value from the run.
Combat tips for Build the Radar Grid Save the World
Combat is usually secondary, so do not burn expensive ammunition on every patrol. Clear enemies that are actively blocking the build, then return to the blueprint and save your best weapons for Mist Monsters or larger groups.
- Use abilities on dense groups rather than single basic Husks.
- Keep a weapon ready for Mist Monsters that interrupt your route.
- Pick up mission items immediately instead of assuming another player will do it.
- Watch the objective tracker so you know when the team has already completed a requirement.
Solo and team efficiency
Solo players can work methodically and finish towers one by one. In public groups, spreading out is efficient, but check the shared progress so two players do not travel across the map toward the same unfinished tower.
Common mistakes in Build the Radar Grid Save the World
A common mistake is building quickly without matching the hologram, which wastes both time and material. Another is completing side farming first and then discovering there is not enough mission time left to finish the required radar towers.
Build the Radar Grid Save the World is also a good mission type for progressing quests that ask for eliminations, searches or environmental objectives, provided those tasks do not distract you from the main timer. Stack objectives when they naturally overlap and leave unrelated farming for a private resource run.
Choose the mission for the reward, not only the type
Two versions of Build the Radar Grid Save the World can have very different value because the mission alert and base rewards change by zone and rotation. Before launching, compare the reward tile with what your account currently needs, especially evolution materials, People XP, Schematic XP, PERK-UP and seasonal currency.
The Save the World missions database can help you compare the wider mission pool, while Epic’s official Fortnite Save the World page carries current mode and platform information.
Build the Radar Grid Save the World also becomes easier when you arrive with enough ammunition, building materials and crafting ingredients to finish the mission without a farming detour. Check your backpack before launch, keep one reliable weapon for normal Husks and save your strongest burst damage for Mist Monsters or other threats that can disrupt the objective. That small amount of preparation is especially useful in Canny Valley, Twine Peaks and Ventures, where a weak setup can turn a straightforward objective into a much longer fight.
Build the Radar Grid Save the World also becomes easier when you arrive with enough ammunition, building materials and crafting ingredients to finish the mission without a farming detour. Check your backpack before launch, keep one reliable weapon for normal Husks and save your strongest burst damage for Mist Monsters or other threats that can disrupt the objective. That small amount of preparation is especially useful in Canny Valley, Twine Peaks and Ventures, where a weak setup can turn a straightforward objective into a much longer fight.