Wall Darts Save the World Guide
Wall Darts Save the World is worth understanding because fires six darts at enemies and can trigger across a three-tile horizontal range. It has a clear job inside a defence, and it becomes much more useful when the surrounding build is designed around that job instead of treating every trap tile as interchangeable.
If you are deciding where to use Wall Darts, think about pathing before damage numbers. Wall Darts Save the World works best when Husks are forced into the part of the lane where its trigger, range and crowd-control or damage role can actually matter.
How Wall Darts Save the World works
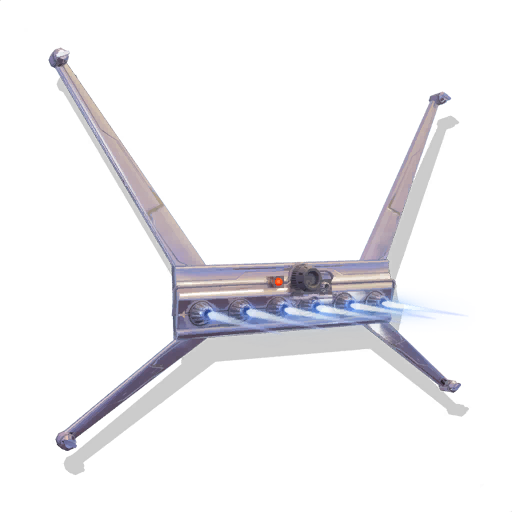
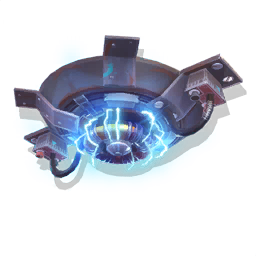
Wall Darts Save the World Image Epic Games.
Wall Darts is a long-range wall damage trap. In practical terms, fires six darts at enemies and can trigger across a three-tile horizontal range. Its useful working area is up to three tiles horizontally, so the shape of the tunnel matters just as much as the schematic level.
Best placement for Wall Darts Save the World
Use Wall Darts where a long sight line lets the trap exploit its range. They are particularly useful across open corridors, behind suitable edited pieces or in lanes where you do not want a trap occupying the wall directly beside the enemy.
Before placing Wall Darts, watch where the first few Husks naturally try to walk. A trap tunnel that follows real pathing will outperform an expensive build placed on tiles the wave barely touches. In defence missions, use terrain, existing walls and sensible block-offs to create a predictable lane without completely sealing every route and forcing enemies to attack random structures.
How to combine Wall Darts with other traps
Because Wall Darts can contribute from range, they fit well opposite launchers, control walls or low-wall setups. Floor slows can keep enemies in the firing lane for repeated activations.
- Use floor traps to control speed or add damage underneath the lane.
- Use wall traps to punish, redirect or interrupt enemies as they pass.
- Use ceiling traps to add another damage or control layer without taking the same build slot.
- Leave yourself a clear firing angle so the tunnel supports players instead of blocking them.
That layered approach is the main reason Wall Darts Save the World becomes more valuable in Plankerton, Canny Valley and Twine Peaks. You are not asking one trap to solve the whole wave. You are giving each tile a purpose and letting several mechanics work together.
Perks for Wall Darts Save the World
Damage, critical rating, critical damage, reload speed and durability all fit its direct-damage role. The best configuration depends on how often the lane triggers the trap and how long the defence lasts.
Do not spend rare PERK-UP just because a schematic is Legendary. Test Wall Darts Save the World in the missions you actually play first. A trap used in short normal missions can favour a different balance from one expected to survive many Endurance waves, where durability and repeat activations become much more important.
Common Wall Darts Save the World mistakes
Putting Wall Darts where a solid structure blocks the firing lane wastes the main advantage of the trap. Think about the dart path, not just the wall tile that happens to be empty.
- Placing traps before checking the main Husk approach.
- Using one trap type everywhere instead of mixing damage and control.
- Ignoring structure upgrades and allowing the supporting wall or floor to break first.
- Overbuilding low-threat missions and burning crafting materials that would be more useful later.
Where Wall Darts Save the World fits in normal missions
Wall Darts Save the World can be useful in Fight the Storm, Ride the Lightning, Retrieve the Data, Shelter missions, Storm Shield Defences and other objectives whenever its specific role matches the incoming lane. The exact amount you need depends on the Power Level, modifiers, terrain and how much support the team is providing with weapons and abilities.
For a full view of the available schematics, use the Save the World traps database. The existing trap tunnel guide is useful when you want complete tile-by-tile layouts rather than a single-trap explanation. Epic also maintains the official Fortnite Save the World page for current mode information.
Once you understand what the schematic is meant to do, Wall Darts Save the World becomes much easier to place efficiently. Build around the route the Husks are already taking, give the trap enough time or space to perform its role, and spend materials where the objective is genuinely under pressure rather than covering every surface by habit.