Fortnite Save the World Trap Tunnel Guide (Blueprint Builds)
What This Guide Covers
This Fortnite Save The World Trap Tunnel guide gives you exact trap tunnel builds you can copy tile-by-tile. Each setup is designed for a specific purpose so you are not guessing what to place or where.
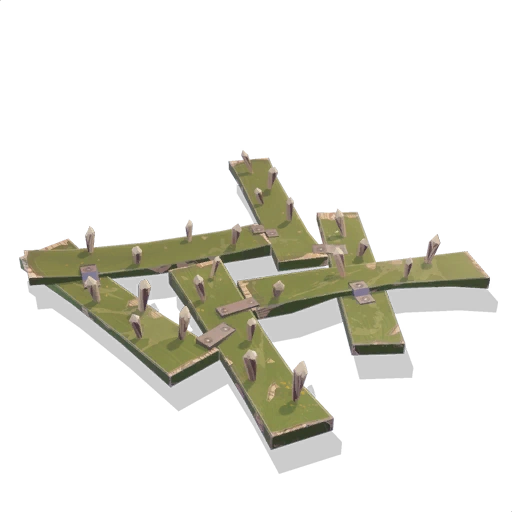
Save The World Trap Tunnel Blueprint: Standard 5-Tile Damage Tunnel
This is your go-to tunnel for most missions. Balanced, reliable, and easy to build.
Tunnel Size
- Length: 5 tiles
- Width: 1 tile
- Height: 1 tile
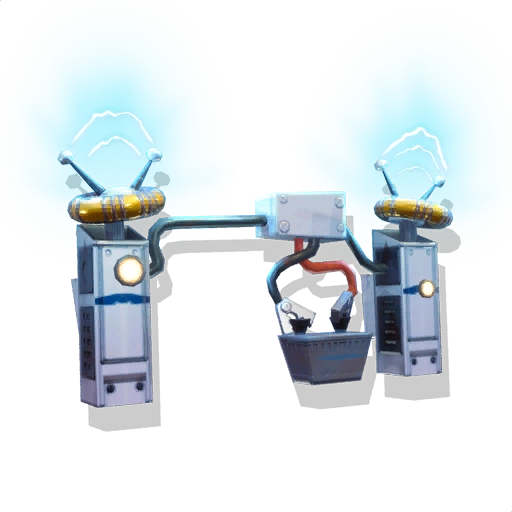
Save the World Trap Tunnel – Tile 1 (Entrance Control)
- Floor: Wooden Floor Spikes
- Walls: Wall Lights
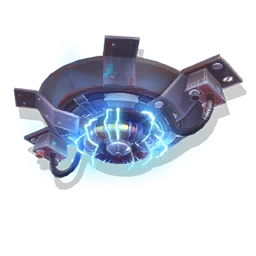
- Ceiling: Ceiling Electric Field
Purpose: slows and briefly stuns enemies as they enter
Tile 2 (Initial Damage)
- Floor: Floor Freeze Trap
- Walls: Wall Darts
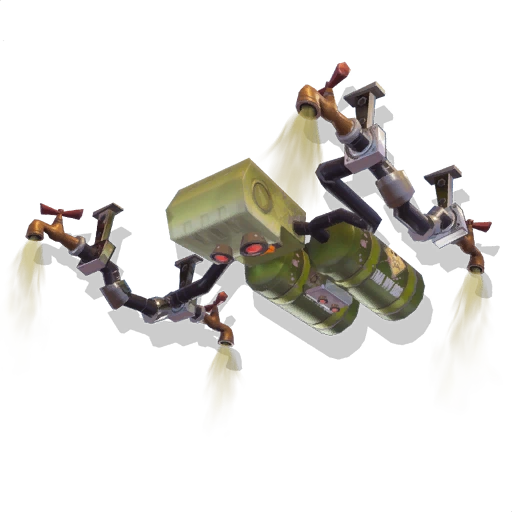
- Ceiling: Gas Trap
Purpose: holds enemies in place while applying damage over time
Tile 3 (Core Damage)
- Floor: Floor Freeze Trap
- Walls: Wall Darts
- Ceiling: Gas Trap
Purpose: main damage section, enemies should spend the most time here
Tile 4 (High Pressure)
- Floor: Retractable Floor Spikes
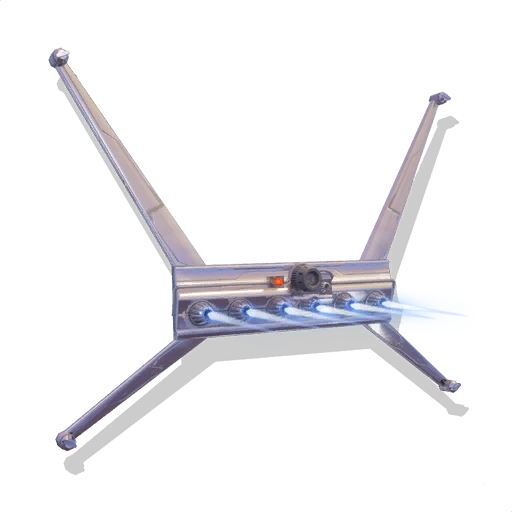
- Walls: Wall Dynamo
- Ceiling: Ceiling Electric Field
Purpose: burst damage to finish weakened enemies
Tile 5 (Exit Cleanup)
- Floor: Wooden Floor Spikes
- Walls: Wall Darts
- Ceiling: Ceiling Electric Field
Purpose: cleans up any remaining husks before they exit
SAVE THE WORLD Trap Tunnel Blueprint: Stall Tunnel (Endurance / High Level)
Use this when damage is less important than holding enemies in place.
Tunnel Size
- Length: 5 to 7 tiles
All Tiles Setup
- Floor: Wooden Floor Spikes
- Walls: Wall Lights or Sound Walls
- Ceiling: Ceiling Drop Trap
How It Works
- Enemies are slowed constantly
- Stunned repeatedly
- Knocked backwards into earlier tiles
Result: enemies stay trapped for extended periods without needing heavy damage
Trap Tunnel Blueprint: Short Burst Tunnel (Fast Missions)
For missions where you need quick eliminations in a short space.
Tunnel Size
- Length: 3 tiles
Tile 1
- Floor: Floor Freeze Trap
- Walls: Wall Dynamo
- Ceiling: Gas Trap
Tile 2
- Floor: Retractable Floor Spikes
- Walls: Wall Dynamo
- Ceiling: Gas Trap
Tile 3
- Floor: Retractable Floor Spikes
- Walls: Wall Darts
- Ceiling: Ceiling Electric Field
Purpose: high burst damage over short distance
Save the World Trap Tunnel – Funnel Setup (How to Force Enemies Into Your Tunnel)
A tunnel only works if enemies actually enter it.
Build Instructions
- Block all alternative paths with walls
- Leave one clear path leading into your tunnel
- Use angled walls to guide enemies toward the entrance
- Do not fully block paths or enemies will attack structures instead
When to Extend Your Tunnel
Add more tiles if:
- enemies are surviving the full tunnel
- smashers are breaking through
- waves are too dense
Add:
- 2 to 3 extra tiles repeating Tile 2 and Tile 3 layouts
Problem Solving (Quick Fixes)
Enemies breaking walls:
- upgrade structures to higher tiers
- add wall lights or sound walls
Enemies walking through too fast:
- replace damage traps with more freeze or slow traps
Smashers charging through:
- add more stall traps before damage sections
Tunnel not being used:
- check pathing and remove alternate routes
Best Materials to Use
- Stone for most builds due to durability
- Avoid wood in high level missions
- Upgrade all structures before waves begin
Save The World Trap tunnels are not about placing the strongest traps, they are about controlling enemy movement and maximizing how long enemies stay inside your build. A simple, well-placed tunnel will always outperform a complicated but poorly planned setup. Start with the standard 5-tile tunnel, adjust based on mission difficulty, and expand when needed.