Fight the Storm Category 4 Guide
Fight the Storm Category 4 is a mission built around defending 4 Atlas objectives during a larger storm defence. The basic objective is easy to understand, but the run becomes much smoother when you explore first, collect what the mission needs and build before starting the defence.
New players often rush Fight the Storm Category 4 because the objective marker makes it tempting to start immediately. A better approach is to use the quiet setup period to gather materials, read the terrain and make sure the team is actually ready for the attack.
How Fight the Storm Category 4 works

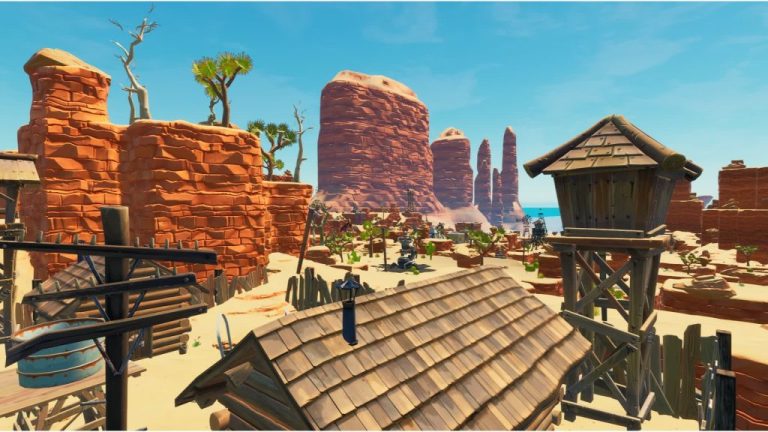
Fight the Storm Category 4 Image Epic Games.
Locate the Atlas objectives and check where each one has spawned before spending materials. Fight the Storm Category 4 becomes much easier when the team identifies which Atlases need full protection, how the enemy lanes overlap and where a single trap tunnel can help more than one objective.
Building for Fight the Storm Category 4
Do not build every Atlas as if it were a separate castle. In Fight the Storm Category 4, compact protection around each exposed objective plus shared funnels is usually more efficient, especially when the Atlases are close enough for one player to rotate between them.
- Upgrade the walls that will take direct pressure.
- Leave yourself a clear route in and out of the defence.
- Use traps where Husks are naturally being funnelled instead of covering every tile.
- Watch for terrain that gives Lobbers, Flingers or Smashers an easy angle onto the objective.
What to do during the attack
Watch the whole objective set instead of staring at one health bar. When Fight the Storm Category 4 splits pressure between lanes, move toward the Atlas taking real damage and let traps or teammates handle the quieter side until the threat is under control.
In Fight the Storm Category 4, target priority matters more than chasing every normal Husk. Mist Monsters and enemies damaging the objective deserve immediate attention, while basic Husks can often be handled by traps, area damage and the rest of the squad.
Solo and public lobby tips
Fight the Storm Category 4 is noticeably more demanding alone because multiple objectives can be pressured at once. Keep builds simple, favour reliable crowd control and consider using public matchmaking when the Power Level or modifiers make the mission too expensive to cover comfortably by yourself.
Common Fight the Storm Category 4 mistakes
The biggest mistake is spending heavily on the first Atlas you see and discovering later that another objective has terrible terrain. Walk the full area first, then decide where your strongest walls, traps and firing positions actually need to be.
- Starting before anybody has built or crafted ammunition.
- Spending too many materials on walls that enemies will never reach.
- Ignoring the direction of the storm and natural Husk paths.
- Using all heavy ammunition on ordinary enemies before the dangerous wave arrives.
What to bring into Fight the Storm Category 4
Bring enough materials to protect several objectives, not just one. Durable weapons, area damage, crowd control and traps with good coverage are more valuable in Fight the Storm Category 4 than a loadout that can only delete one target at a time.
The exact rewards for Fight the Storm Category 4 depend on the mission tile, Power Level and active alert. Check the reward panel before launching so you know whether the run is worth prioritising for XP, evolution materials, PERK-UP, event currency or another resource you currently need.
If you are still learning the wider mission rotation, the Save the World missions database is useful for comparing mission types. You can also check Epic’s official Fortnite Save the World page for current mode and platform information.
Fight the Storm Category 4 also becomes easier when you arrive with enough ammunition, building materials and crafting ingredients to finish the mission without a farming detour. Check your backpack before launch, keep one reliable weapon for normal Husks and save your strongest burst damage for Mist Monsters or other threats that can disrupt the objective. That small amount of preparation is especially useful in Canny Valley, Twine Peaks and Ventures, where a weak setup can turn a straightforward objective into a much longer fight.