Plankerton Storm Shield Defense 8 Guide
Plankerton Storm Shield Defense 8 is the next Homebase defense in this part of Plankerton, and the easiest way to clear it is to prepare the permanent Storm Shield base before pressing Expand Shield. The important part is not simply having a strong weapon. You need the objective shell repaired, the likely approaches controlled and enough materials left to react when the active target changes.
This Plankerton Storm Shield Defense 8 guide focuses on what is different about this defense, what to build before starting, how to handle it solo, and what progression it opens afterwards. The exact spawn direction can depend on the permanent amplifier layout, so the guide avoids pretending every player has an identical lane and instead shows you how to read the active attack and prepare the correct path.
Plankerton Storm Shield Defense 8: what changes in this defense

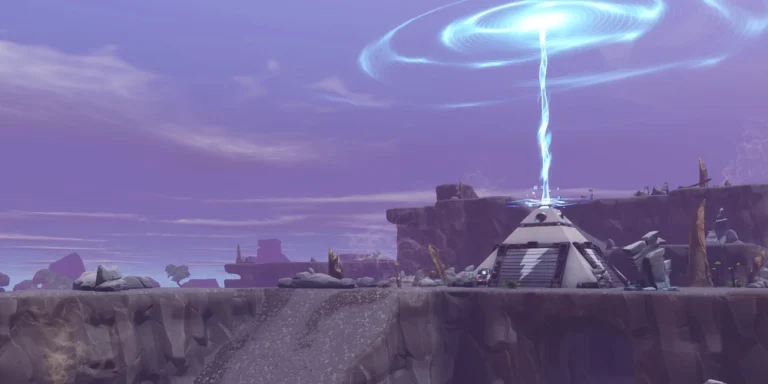
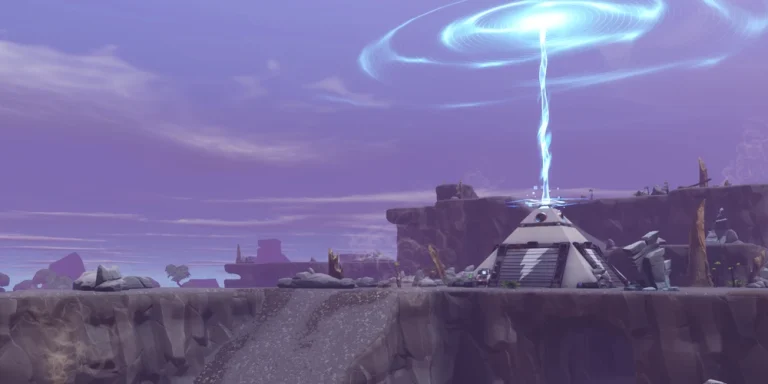
Plankerton Storm Shield Defense 8 Image Epic Games.
The defining job in Plankerton Storm Shield Defense 8 is to install and defend the fifth Plankerton Storm Shield Amplifier. That means you should prepare the permanent base around the objectives already on the map, rather than building a temporary mission fort that disappears afterwards.
Completing Plankerton Storm Shield Defense 8 moves your account into the next progression step. The important unlock after this stage is Plankerton SSD9. The ssd8 side-defense completion rewards are also tied to this point in the Storm Shield chain.
How to complete Plankerton Storm Shield Defense 8
- Enter your Homebase Storm Shield and walk every objective before starting the defense.
- Repair damaged walls, floors and ceilings, then replace traps with low durability.
- Prepare for the key change in this stage: install and defend the fifth Plankerton Storm Shield Amplifier.
- Stand at the Storm Shield console and choose Expand Shield only after the permanent build is ready.
- Watch the wave marker and move to the objective that is actually being attacked.
- Let trap lanes handle normal Husks while you target Mist Monsters, Smashers or enemies bypassing the intended route.
- Between waves, repair the attacked lane first, then check the next possible objective before the timer ends.
- Finish the defense and return to Homebase to confirm Plankerton SSD9 is available.
What to build before you start
- The fifth amplifier adds another permanent objective, so build it as a self-contained fort first. Then identify terrain that lets Husks cut around your expected lane and close those routes without trapping them into awkward pathing.
- Use low-cost control at the front of the route, then place your better damage traps where Husks are forced to stay in the lane.
- Keep the objective roofed so Lobbers and thrown enemies cannot attack the target from a clean overhead angle.
- Do not block every route. Husks need a path, and a clear trapped route is usually safer than forcing them to break unpredictable walls.
For Plankerton Storm Shield Defense 8, trap placement should follow the path Husks actually use. Start with the terrain. Look for ramps, cliffs and narrow passages that naturally funnel enemies. It is better to reinforce one real approach than to cover empty ground with traps that never trigger.
How to solo Plankerton Storm Shield Defense 8
Do a full perimeter check after placing the amplifier. If you can walk from a spawn approach to the objective without passing through your planned trap lane, Husks probably can too. A Constructor is useful when you are learning the defense because B.A.S.E. strengthens the structures you are already relying on. Soldiers and Ninjas can still clear it, but they ask more of your weapons when a lane breaks.
When soloing Plankerton Storm Shield Defense 8, build with rotation time in mind. Leave doors, ramps or open movement lines for yourself, but do not create shortcuts that also let Husks bypass the trapped path. Keep a stack of building materials and a few replacement traps ready before the defense begins.
Common reasons the defense fails
- Starting before old structures and traps are repaired.
- Standing at the wrong amplifier after the wave target changes.
- Building a solid box with no controlled path, which makes Husks attack random walls.
- Using every expensive trap on one approach while another amplifier has almost no defense.
- Leaving the objective roof open to Lobbers or Flingers.
- Treating the optional SSD like a fresh campaign mission instead of maintaining the permanent base you already built.
If Plankerton Storm Shield Defense 8 fails, remember which objective and which wall actually collapsed. Re-enter the Storm Shield, repair that exact lane and add control where the pressure reached the structure. Rebuilding unrelated amplifiers wastes time and can make pathing harder to understand.
What Plankerton Storm Shield Defense 8 unlocks
After Plankerton Storm Shield Defense 8 is complete, the next major progression marker is Plankerton SSD9. Keep the Storm Shield build intact because later SSDs reuse the same permanent map, and the lanes that worked here can be upgraded rather than replaced.
You can also check Epic’s official Fortnite Save the World page for the current mode and platform information. For the defense itself, the practical job remains the same: expand Homebase, protect the active objective and preserve the base for the next Storm Shield stage.